


Setting up HubSpot CRM in just 24 hours is both achievable and efficient, but it requires a clear plan. You’ll start by creating your account and familiarizing yourself with the dashboard. From there, you’ll import contacts and customize your sales pipeline. Each step builds on the last, ensuring you have a robust system tailored to your needs. But what about automating tasks to save time? Let’s explore that next.
Table of Contents
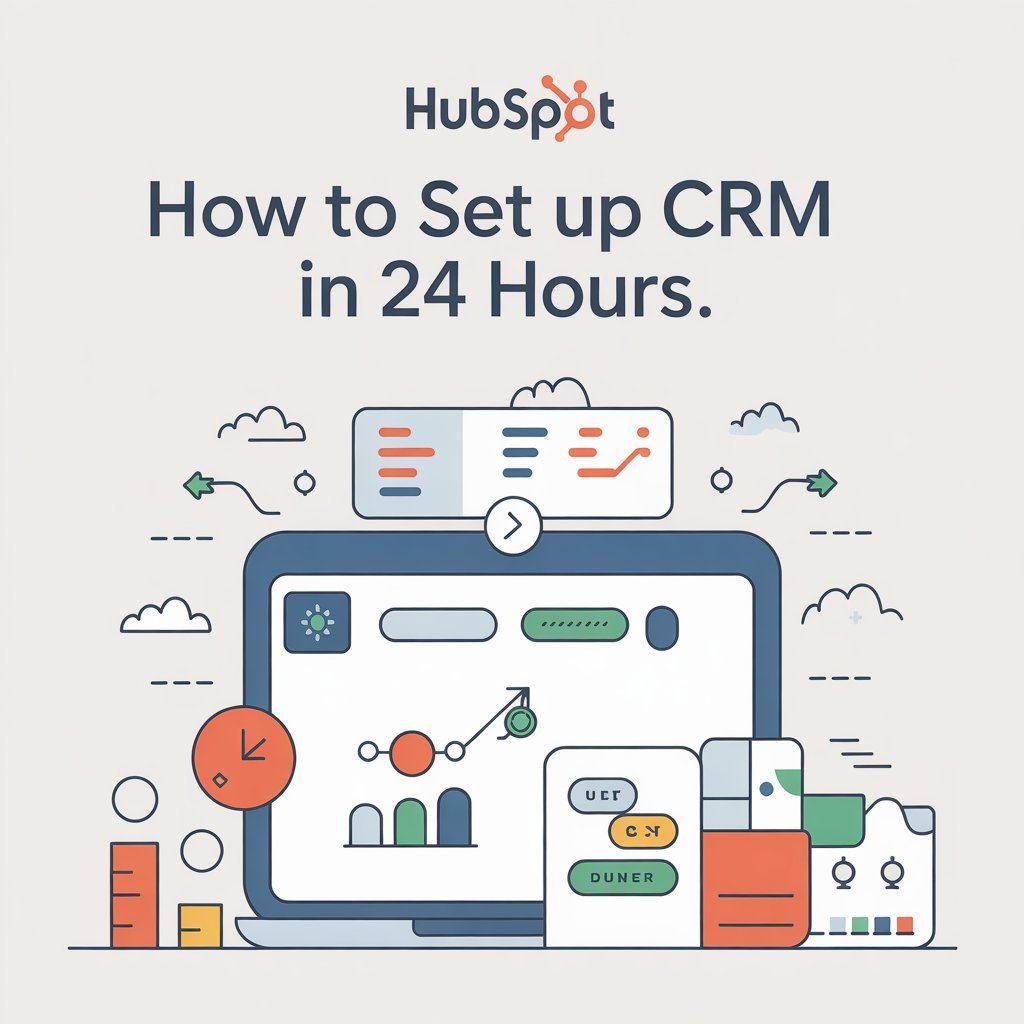
Creating Your HubSpot Account
Creating your HubSpot account is a straightforward process that takes just a few minutes.
First, visit the HubSpot website and click on the “Get Started Free” button. You’ll be prompted to enter your email address, and then you’ll need to create a password. Make sure it’s secure but memorable.
Once you’ve filled out the required information, check your inbox for a confirmation email. Click the link in the email to verify your address.
After that, you’ll be guided through a brief setup process, where you can add your company details and customize your profile. Additionally, remember that help make informed decisions while setting up your preferences to tailor your HubSpot experience.
Remember to take a moment to explore the options available to you and set up your preferences to tailor your HubSpot experience.
Navigating the HubSpot Dashboard
After setting up your HubSpot account, you’ll be greeted by the HubSpot Dashboard, which serves as your command center.
Here, you can easily access all your tools and features.
The top navigation bar provides quick links to Contacts, Companies, Deals, and more.
Use the search bar to find specific records or reports effortlessly.
The left sidebar displays your notifications and upcoming tasks, keeping you organized.
You’ll also notice customizable reports that give you insights into your sales pipeline and marketing efforts.
Don’t forget to explore the Marketplace for additional apps and integrations that can enhance your CRM experience.
Familiarizing yourself with the dashboard is essential for maximizing your productivity and staying on top of your business operations. Additionally, consider utilizing project management software evaluations to further streamline your processes.
Importing Your Contacts
Importing your contacts into HubSpot CRM is a straightforward process that can be completed in just a few steps.
First, gather your contacts in a CSV format, ensuring that all necessary fields like names, email addresses, and phone numbers are included.
Next, log into your HubSpot account and navigate to the “Contacts” section.
Click on the “Import” button, then select “Start an Import.”
Upload your CSV file and map the columns to the appropriate HubSpot properties.
Review the import settings and confirm that everything looks good.
Finally, click “Finish Import” to complete the process.
Once done, your contacts will be available in HubSpot, ready for you to manage and engage with effectively. It’s always a good practice to check the Terms and Conditions to ensure compliance with data handling policies.
Setting Up Your Sales Pipeline
With your contacts now imported into HubSpot CRM, the next step is setting up your sales pipeline.
Start by navigating to the “Sales” tab, then select “Pipelines.” Here, you can create a new pipeline or customize an existing one.
Define your stages clearly, keeping them relevant to your sales process. Consider using stages like “Prospecting,” “Qualified Lead,” and “Closing.”
Add in any necessary deal properties, such as deal value and close date, to keep track of important details.
Once you’ve set up your stages, you can assign tasks to your team members, ensuring everyone knows their responsibilities.
Finally, visualize your pipeline by checking the board view, which makes tracking progress easy and manageable. Additionally, you’ll want to ensure that your process aligns with workflow streamlining to achieve your sales goals effectively.
Customizing Properties and Fields
Customizing properties and fields in HubSpot CRM is essential for tailoring the platform to fit your specific business needs. Start by navigating to the settings gear icon and selecting “Properties.”
Here, you can create custom properties that align with your business requirements, such as adding fields for specific data points or categories relevant to your sales process.
Make sure to define property types—like text, dropdowns, or dates—to ensure data consistency. You can also organize properties into groups for easier access.
Remember to regularly review and update these fields as your business evolves.
Integrating Email and Communication Tools
Effective communication is vital for any business, and integrating email and communication tools in HubSpot CRM can streamline your interactions.
Start by connecting your email account to HubSpot.
This allows you to send and receive emails directly from the CRM, keeping everything organized.
Navigate to the settings and select “Integrations,” then choose your email provider.
Follow the prompts to link your account.
Next, consider integrating communication tools like Slack or Microsoft Teams.
This way, you can receive notifications and updates in real-time, enhancing collaboration with your team.
Lastly, explore the calling features in HubSpot.
You can make calls directly from the CRM, logging conversations automatically.
This integration helps you maintain clear communication without the hassle of switching platforms.
Creating and Managing Tasks
Communication tools help keep your team connected, but managing your tasks is just as important for staying organized.
In HubSpot CRM, creating tasks is simple.
Start by navigating to the “Tasks” section and click on “Create Task.”
Here, you can assign the task to yourself or a team member, set a due date, and add a description.
Make sure to prioritize tasks to focus on what’s urgent.
You can also track your tasks easily by filtering them based on status, due date, or assignee.
Regularly review your tasks to ensure nothing slips through the cracks.
By actively managing your tasks, you’ll boost your productivity and keep your projects on track.
With HubSpot, staying organized has never been easier!
Setting Up Automation Workflows
Streamline your processes by setting up automation workflows in HubSpot CRM.
Start by navigating to the “Automation” section in the main menu.
Click on “Workflows” and then “Create Workflow” to begin.
You can choose from pre-made templates or build from scratch based on your specific needs.
Define your enrollment triggers, like form submissions or contact properties, to target the right audience.
Next, add actions such as sending emails, updating properties, or assigning tasks.
You can also include if/then branches for customized paths based on user behavior.
After setting everything up, review your workflow for accuracy.
Finally, activate it to start automating your processes, saving you time and ensuring consistency in your communication.
Analyzing Reports and Metrics
How can you truly understand the impact of your efforts in HubSpot CRM?
By diving into reports and metrics, you’ll uncover valuable insights.
Start by accessing the reporting dashboard, where you can view key performance indicators like lead conversion rates, email open rates, and sales pipeline metrics.
Customize your reports to focus on what matters most to your business.
Regularly analyze these metrics to identify trends and areas for improvement.
For instance, if a certain campaign isn’t performing well, it’s time to adjust your strategy.
Don’t forget to share these insights with your team to foster collaboration and alignment.
Training Your Team on HubSpot CRM
Understanding your metrics is just the beginning; the next step is equipping your team to effectively use HubSpot CRM.
Start by organizing a hands-on training session.
Walk your team through the platform’s features, emphasizing practical applications like managing contacts, tracking deals, and automating tasks.
Use real-life scenarios to illustrate how HubSpot can streamline their workflows.
Encourage team members to explore the platform themselves.
Set up a sandbox environment where they can practice without affecting live data.
Provide access to HubSpot’s extensive resources, including tutorials and documentation.
Lastly, establish a feedback loop.
Regular check-ins will help identify challenges and reinforce their skills.
With proper training, your team will maximize HubSpot CRM’s potential, enhancing productivity and collaboration.
Conclusion
In just 24 hours, you can have HubSpot CRM up and running smoothly. By following these steps, you’ll streamline your sales process and enhance team collaboration. Don’t forget to take advantage of training resources and encourage feedback to ensure everyone’s on board. With a little effort, you’ll be well on your way to maximizing your CRM’s potential and driving business success. Dive in and watch how HubSpot transforms your workflow!


