
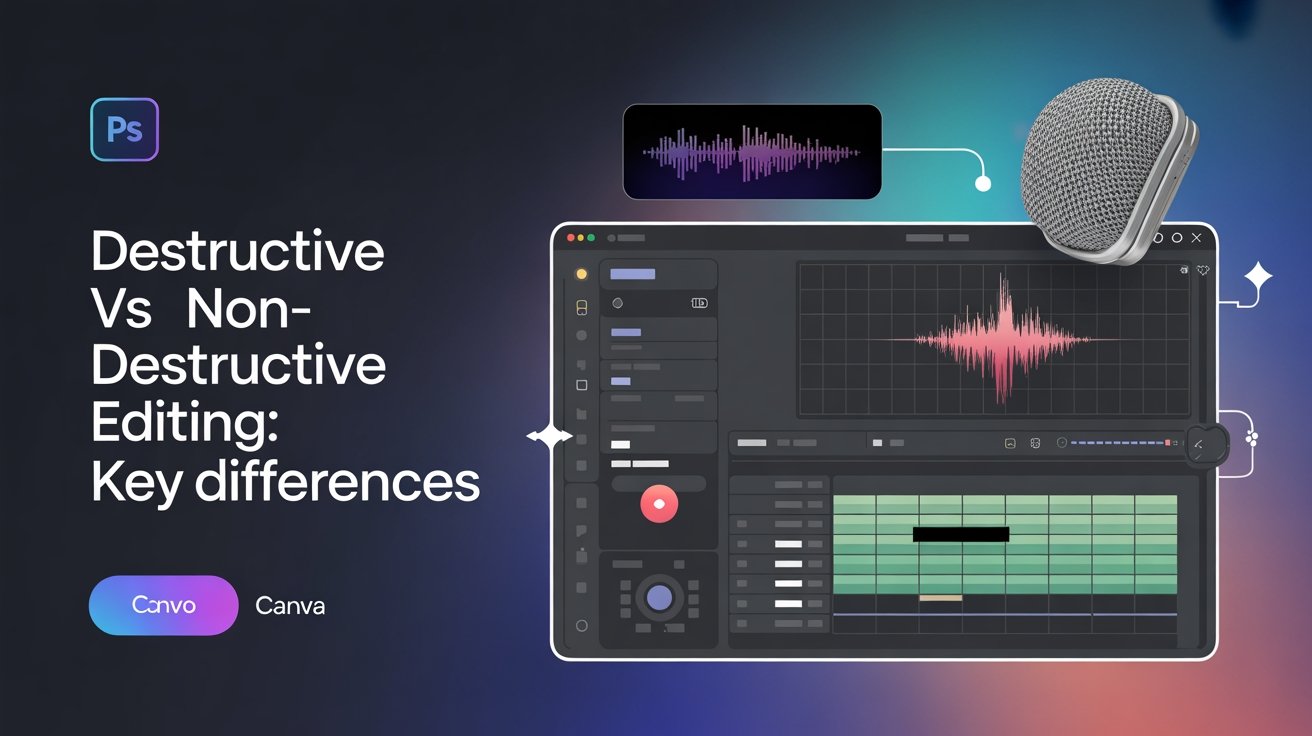


When it comes to editing, destructive editing permanently alters your original files, leading to potential quality loss with every change. On the other hand, non-destructive editing lets you make adjustments without affecting the original image, allowing for easy reversibility and creative experimentation. While destructive editing is faster and results in smaller file sizes, non-destructive editing retains quality and encourages artistic exploration. Discover more about how these methods can impact your workflow and choices in the creative process.
Table of Contents
Key Takeaways
- Destructive editing permanently alters original files, leading to potential data loss, while non-destructive editing preserves originals for future revisions.
- Non-destructive editing techniques like adjustment layers and masking allow for creative experimentation without losing original quality.
- Destructive editing results in smaller file sizes due to compression, while non-destructive methods may require more storage space for additional files.
- Software options differ, with Adobe Photoshop favoring destructive edits and Adobe Lightroom supporting non-destructive workflows.
- The choice of editing method affects project outcomes; destructive editing is faster, while non-destructive editing enhances creative flexibility and collaboration.
Understanding Destructive Editing
When you edit destructively, you make permanent changes to the original file, which means once you save your work, there’s no going back. This approach often leads to image degradation, as the quality can diminish with each edit.
You might adjust brightness, contrast, or crop the image, but every alteration is irreversible. If you decide to tweak something later, you’ll find the original state is lost, leaving you with a version that mightn’t meet your needs.
Editing permanence can be appealing for quick fixes or minor adjustments, yet it poses risks. Always consider how much you value the original content before committing to destructive edits, as recovery options are limited once you’ve saved your changes. Additionally, the importance of website maintenance becomes clear when you realize that losing the original file can hinder your workflow and decision-making.
The Basics of Non-Destructive Editing
Non-destructive editing lets you make changes without permanently altering your original files.
This approach not only preserves your work but also offers flexibility as you can easily revert to previous versions.
You’ll find various tools that facilitate non-destructive techniques, making your editing process more efficient and creative. Additionally, understanding the importance of informed decision-making can greatly enhance your editing experience by enabling you to choose the right tools for your projects.
Definition and Concept
Editing can often feel like walking a tightrope between creativity and control. Non-destructive editing is an approach that allows you to experiment freely without permanently altering your original files.
In this style, every change you make preserves the initial image or project, enabling you to revert or adjust anytime. This flexibility can greatly enhance your editing workflow, giving you the freedom to explore various techniques without the fear of losing your original work.
You can apply filters, adjustments, and layers while keeping your base file intact. Understanding this concept is essential for developing your editing styles, as it influences how you approach projects and manage your creative decisions throughout the editing process.
Advantages of Non-Destructive
While many editors appreciate the creative freedom that comes with non-destructive techniques, they also benefit from the safety net it provides.
Non-destructive workflows allow you to experiment without risking your original files. You can make adjustments, try different effects, and explore various styles, all while knowing you can easily revert to your initial image. This flexibility encourages creativity, enabling you to push boundaries without fear of permanent damage.
Additionally, non-destructive editing facilitates collaboration, as team members can build on each other’s ideas without losing previous work.
Ultimately, embracing non-destructive methods not only enhances your editing process but also empowers you to take creative risks, making your work more dynamic and innovative.
Tools for Non-Destructive Editing
Creative freedom comes hand in hand with using the right tools for non-destructive editing. Leveraging non-destructive tools in editing software allows you to experiment without the fear of losing original content.
Here are three essential tools to enhance your non-destructive editing workflow:
- Adjustment Layers: Easily modify colors, brightness, and contrast without altering the original image.
- Masks: Apply effects selectively, making it easy to blend changes seamlessly.
- Smart Objects: Edit raster images non-destructively, allowing you to resize and transform without losing quality.
With these tools at your disposal, you can explore creative possibilities while keeping your original files intact.
Embrace non-destructive editing and release your creativity!
Advantages of Destructive Editing
Destructive editing offers several advantages that can considerably streamline your workflow. One of the key benefits is the reduced file size due to image compression, which can help save storage space and make file transfers faster.
When you apply changes directly to your images, like color grading, you’re often able to achieve more immediate and impactful results. This method allows you to focus on the creative aspects without worrying about maintaining multiple versions of the same file.
Additionally, since all edits are permanently applied, you won’t have to deal with the complexity of layers or adjustments later on. In situations where speed and efficiency are essential, destructive editing can be a powerful choice for getting the job done efficiently. Furthermore, maintaining website navigation is crucial for enhancing user experience, making it easier to find important content.
Benefits of Non-Destructive Editing
Here are three key benefits:
- Creative Freedom: You can experiment with different looks and styles without the fear of ruining your original image.
- Workflow Efficiency: Non-destructive methods speed up your editing process since you can easily revert changes or make adjustments at any time.
- Preservation of Quality: Your original files remain intact, ensuring the highest quality for future edits or prints.
Embracing non-destructive editing empowers you to release your creativity while maintaining a streamlined workflow. It’s a win-win for any editor! Additionally, this approach aligns with user empowerment by enhancing your decision-making capabilities in the editing process.
Common Techniques in Destructive Editing
When you engage in destructive editing, you’ll often use techniques like image resampling methods and color adjustments that permanently alter your original files.
Changing file formats can also lead to irreversible changes, which mightn’t be ideal for every project.
Understanding these methods will help you make informed decisions about your editing process. Additionally, it’s important to recognize that the page not found error can occur if you attempt to access resources that are no longer available.
Image Resampling Methods
Image resampling methods play an essential role in destructive editing by altering the pixel dimensions of an image, often leading to a loss of quality.
When you resize an image, you manipulate its image resolution, which affects the overall image quality.
Here are three common resizing techniques you might use:
- Bilinear Interpolation: This method averages the colors of surrounding pixels, creating smoother shifts but can blur details.
- Bicubic Interpolation: More sophisticated, it considers 16 pixels around the target pixel for a sharper result, though it may still introduce artifacts.
- Nearest Neighbor: The simplest method, it copies the color of the nearest pixel, preserving hard edges but resulting in a pixelated look.
Color Adjustment Techniques
Color adjustment techniques in destructive editing can greatly impact your images, often leading to permanent changes in their appearance.
When you apply color grading techniques, you’re altering the overall tone and mood of an image, which can enhance or detract from its original intent.
Hue adjustments, on the other hand, allow you to tweak specific colors, giving you control over how they appear. You might find yourself shifting reds to oranges or blues to greens, making a dramatic difference in your composition.
File Format Alteration
While editing your photos, selecting the right file format can greatly impact the final result, especially in destructive editing. When you save your images in a destructive format, you risk compromising file integrity and format compatibility.
Here are key points to evaluate:
- JPEG: This format reduces file size but loses data, affecting quality after multiple edits.
- PNG: While it retains file integrity better than JPEG, it still doesn’t support layers or adjustments.
- TIFF: Offers high quality and supports layers, but files can be large and may not be compatible with all software.
Choosing the wrong format can lead to irreversible changes.
Always reflect on how your choice affects your editing process and the quality of your final images.
Popular Non-Destructive Editing Techniques
Many photographers and graphic designers rely on popular non-destructive editing techniques to maintain the integrity of their original files while enhancing their artwork.
You can use non-destructive cropping to adjust your composition without permanently altering the image. Adjustment layers allow you to tweak tonal adjustments and color grading easily. Smart objects enable you to apply non-destructive filters, preserving the original image beneath.
Masking techniques offer selective editing, letting you control what parts of the image are affected. Virtual copies help you experiment with different edits without losing the original version.
Layer styles and blending modes further enhance your creative options, allowing you to achieve the desired effect without sacrificing quality. Embrace these techniques for flexible, creative control. Additionally, utilizing a search feature on your editing software can help you quickly find relevant tools and resources to enhance your workflow.
Impact on Image Quality
Non-destructive editing techniques greatly impact image quality by allowing you to make adjustments without compromising the original file.
This preservation helps maintain the integrity of your images, ensuring they always look their best. Here are three key benefits:
- Image Resolution: You can resize or crop images without degrading quality, keeping your work sharp and detailed.
- Pixel Integrity: Adjustments like brightness or contrast can be applied without altering the original pixel data, allowing for cleaner edits.
- Revisability: You can revert changes at any time, ensuring you can try different styles or corrections without fear of losing the original image quality.
Flexibility in Editing Workflow
When it comes to editing, flexibility is key to achieving the best results.
You’ll appreciate how adaptable your editing process can be with options to undo actions and revert to previous versions.
Plus, mastering layer management techniques allows you to experiment without fear, making your workflow smoother and more creative.
Editing Process Adaptability
While the choice between destructive and non-destructive editing often shapes your workflow, the true adaptability of your editing process hinges on how you integrate flexibility into your approach.
Here are three adaptability strategies to enhance your editing workflow:
- Use Layered Edits: Implement non-destructive techniques by working with layers, allowing you to revisit and modify adjustments without altering the original.
- Embrace Modular Editing: Break your project into manageable parts, making it easier to adapt and revise as needed.
- Stay Open to New Tools: Experiment with different software and plugins that can enhance your editing capabilities and streamline your workflow.
Undo and Revert Options
Having a flexible editing workflow means knowing you can easily undo changes or revert to previous versions. In non-destructive editing, your undo history is your best friend. It allows you to backtrack without losing your original content, giving you the freedom to experiment with different edits. If you don’t like a change, simply hit undo, and you’re back to where you started.
Moreover, revert options let you return to a specific point in your project, ensuring that you can refine your work without the fear of permanent alterations.
This flexibility encourages creativity, allowing you to make bold changes while knowing you can always go back. Embracing these features enhances your editing experience and keeps your workflow efficient.
Layer Management Techniques
Effective layer management techniques are essential for maintaining flexibility in your editing workflow, as they allow you to organize and manipulate different elements of your project with ease.
Here are some effective layer organization strategies to reflect upon:
- Group Similar Layers: Use effective layer grouping to keep related elements together, making it easier to manage and edit as a unit.
- Rename Layers: Give your layers descriptive names to quickly identify their purpose, helping you stay organized throughout the editing process.
- Utilize Color Coding: Assign colors to layers or groups to visually distinguish them, enhancing your workflow and reducing confusion.
Software Options for Each Editing Type
When choosing software for editing, it’s crucial to take into account whether you prefer destructive or non-destructive methods, as each type has its own set of tools tailored to your needs.
For destructive editing, programs like Adobe Photoshop and Paint.NET allow you to make quick adjustments directly on the image, but be cautious about software compatibility, as not all formats support this.
On the other hand, non-destructive editing options like Adobe Lightroom and Capture One provide flexibility, letting you adjust settings without altering the original file. These tools enhance workflow efficiency by allowing you to experiment with edits and revert changes easily.
Ultimately, the right software choice hinges on your editing style and project requirements.
Best Practices for Photo Editing
While mastering the art of photo editing, it’s vital to keep a few best practices in mind to guarantee your images shine.
Here are three essential tips for effective photo editing techniques:
- Use Non-Destructive Editing: Always work on a duplicate or use layers to maintain your original image. This way, you can make adjustments without losing quality.
- Limit Your Edits: Avoid over-editing. Subtle adjustments often yield the best results, so focus on enhancing rather than altering your image drastically.
- Choose the Right Software: Explore editing software recommendations that suit your style, like Adobe Lightroom for organization and Photoshop for detailed edits.
Choosing the Right Method for Your Needs
With a solid grasp of best editing practices, it’s time to contemplate which editing method—destructive or non-destructive—suits your needs.
Consider your editing preferences: if you want complete control and flexibility, non-destructive editing is the way to go. It allows you to experiment without losing original image quality.
On the other hand, if you’re confident in your choices and need faster results, destructive editing can enhance workflow efficiency by saving space and rendering time.
Think about your projects and how often you revisit them. If you often refine your work, opt for non-destructive; if you’re creating final outputs, destructive might serve you better.
Ultimately, choose the method that aligns with your goals and enhances your creative process.
Frequently Asked Questions
Can I Convert Destructive Edits to Non-Destructive Later?
No, you can’t convert destructive edits to non-destructive later. Maintaining a clear edit history is essential for workflow efficiency, so it’s best to use non-destructive methods from the start to protect your original files.
What Types of Projects Benefit Most From Non-Destructive Editing?
You’ll find non-destructive editing particularly beneficial for photo retouching and graphic design projects. It allows you to experiment freely, make adjustments without loss, and maintain high-quality results throughout your creative process.
Are There Any Industry Standards for Editing Methods?
Around 70% of professionals prefer non-destructive editing techniques. In today’s industry practices, using non-destructive methods is becoming a standard, offering flexibility and efficiency that’s essential for high-quality project outcomes. You’ll want to adopt these techniques.
How Do I Choose the Right Software for My Needs?
To choose the right software, consider the essential features you need and how intuitive the user interface is. Test a few options to see which one feels most comfortable and meets your editing requirements effectively.
Can Non-Destructive Editing Slow Down My Computer’s Performance?
Non-destructive editing’s like a double-edged sword; it can sometimes slow your computer’s performance, especially with large files. However, it boosts editing efficiency by preserving original content, so you’ll weigh the trade-offs carefully.
Conclusion
In the grand tapestry of photo editing, choosing between destructive and non-destructive methods is like picking the right brush for your masterpiece. While destructive editing might seem like a bold stroke, remember it often leaves behind a more permanent mark. On the other hand, non-destructive editing offers you the freedom to explore and refine without the fear of irreversible choices. So, weigh your options carefully, and embrace the approach that best suits your creative journey!


