
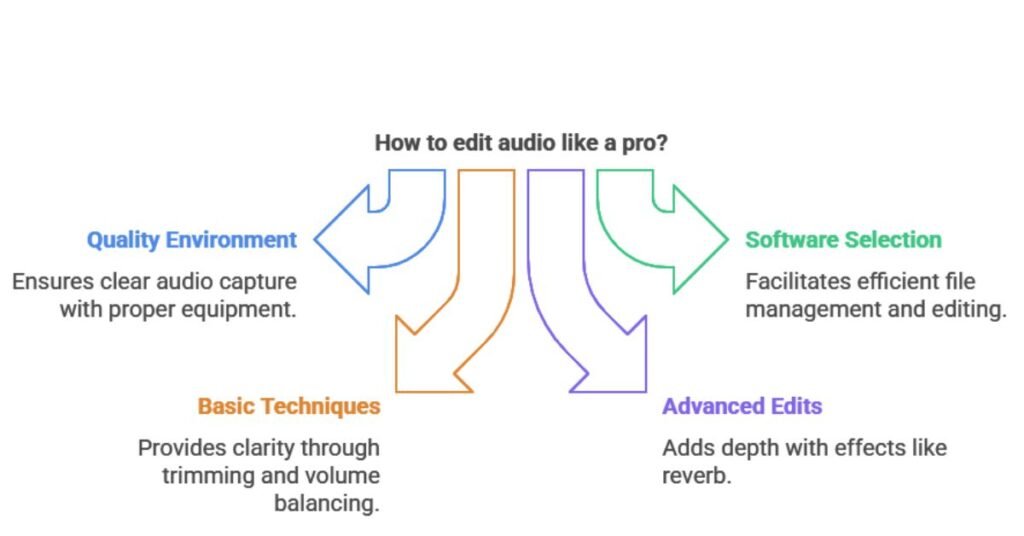


Audio editing transforms raw recordings into polished, professional sound that captivates listeners. It starts with setting up a quality environment using microphones and interfaces for clear capture.
Choosing software like Audacity or Adobe Audition helps import and organize files efficiently. Basic techniques include trimming, cutting, and balancing volumes for clarity, while advanced edits add effects like reverb for depth.
Table of Contents
Setting Up a Professional Recording Environment
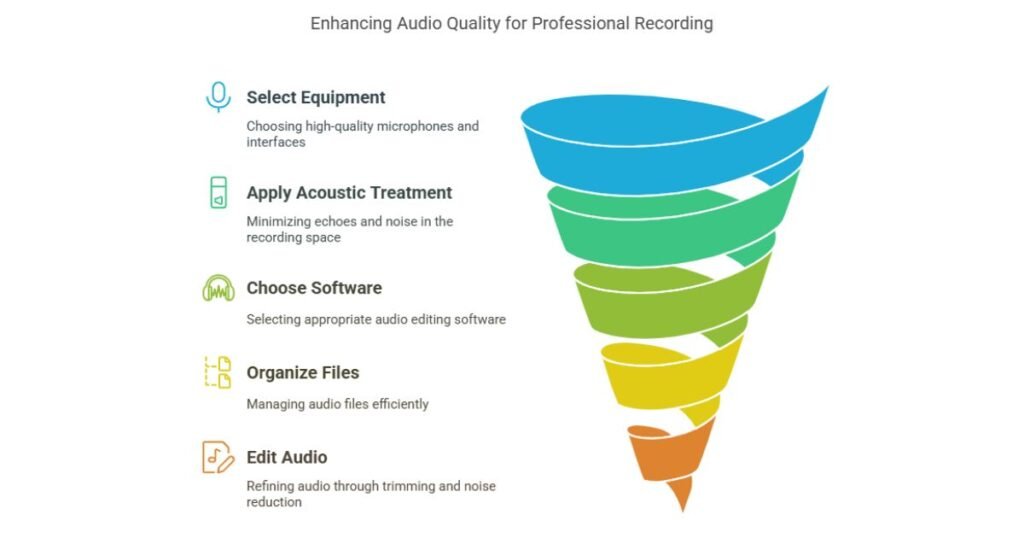
Professionals select high-quality recording equipment to ensure clear and dedicated audio capture in their setups. They understand that microphones, interfaces, and headphones play an important role in achieving professional results. Acoustic treatment also enhances the environment by minimizing echoes and background noise for maximum sound quality.
Selecting High-Quality Recording Equipment
When setting up a professional recording environment, it is vital to choose high-quality equipment that captures clear, dedicated audio. To prioritize audio quality, select microphones like condensers for their sensitivity and wide frequency response. Don’t overlook audio interfaces with high-resolution ADCs and low latency, which maintain pristine signal integrity during recording. Professionals compare brands, checking specs like dynamic range and sample rates to avoid subpar gear. It is important to test equipment thoroughly, as this directly improves overall audio quality in editing workflows.
Understanding the Importance of Acoustic Treatment
Acoustic treatment refines a recording space by absorbing excess echoes and controlling reflections so that the equipment performs at its best. It minimizes unwanted noise, ensuring clearer audio captures. Professionals use acoustic treatment to create balanced sound backgrounds where microphones and interfaces deliver accurate results. This setup prevents issues like reverb or distortion, enhancing overall production quality. By investing in panels, bass traps, and diffusers, editors achieve pristine recordings, saving time.
Choosing the Right Audio Editing Software
When selecting audio editing software, one starts with an overview of popular options like Audacity, Adobe Audition, and GarageBand, each catering to different user levels. It’s essential to evaluate key features such as multi-track support, noise reduction tools, and export formats to match project requirements. This approach guarantees users pick software that improves their editing efficiency effectively.
Importing and Organizing Audio Files
Audio editors import audio files into their software to set up projects efficiently. They use file management tips, such as naming conventions and folder structures, to maintain an organized workflow. They also adopt data backup and security practices to safeguard files against loss or unauthorized access.
File Management Tips for Efficient Workflow
Efficient file management enhances your workflow by streamlining how you import and organize audio files. One implements file management tips for efficient workflow by creating structured folders for audio files, using clear naming conventions like “ProjectName_Track01_WAV” to avoid mix-ups. They import audio files via software like Audacity, dragging them into timelines for easy access.
Data Backup and Security Practices
Protecting organized audio files requires regular backups to prevent loss from hardware failures or accidental deletions. Adequate data backup and security practices involve creating redundant copies on external drives or cloud storage like Google Drive. Editors should encrypt files using tools such as BitLocker to shield against breaches. This proactive approach safeguards valuable work.
Basic Editing Techniques
Audio editors refine recordings by trimming and cutting unwanted sections to remove excess material. They then adjust volume levels effectively, ensuring balanced sound across tracks. Finally, they apply noise reduction processes to eliminate background interference and enhance clarity.
Trimming and Cutting Unwanted Sections
Trimming and cutting are essential techniques that let you quickly refine audio by removing unwanted sections, such as pauses or errors. In software like Audacity, users select a portion of the waveform and apply trimming to shorten clips or cutting to delete segments entirely. This process maintains the audio’s flow without altering other parts, ensuring a polished result. For instance, trimming eliminates dead space at the beginning or end, while cutting removes mid-clip mistakes. These methods enhance clarity and pacing. Always preview changes before finalizing edits.
Adjusting Volume Levels Effectively
After refining audio by trimming and cutting unwanted parts, users balance volume levels to guarantee clear, professional results. They adjust volume levels using software tools like gain sliders or normalization. For instance, compression evens out the dynamic range, making quiet sections louder and loud ones quieter without distortion. Users actively monitor levels with meters to avoid clipping, creating a polished mix that’s engaging and balanced. This technique enhances overall audio quality, making edits sound professional.
Applying Noise Reduction Processes
Once background noise interferes with audio clarity, users quickly apply noise reduction processes to eliminate unwanted sounds. In software like Audacity, they select a noise sample, adjust settings, and process the audio for cleaner results. Noise reduction enhances podcasts and videos by targeting specific frequencies, ensuring professional quality without distortion.
| Step | Description |
| 1 | Identify and select a noise sample |
| 2 | Access the noise reduction tool |
| 3 | Adjust sensitivity and frequency settings |
| 4 | Apply the effect and preview audio |
| 5 | Fine-tune or export the cleaned track |
Users must balance noise reduction to maintain natural sound, avoiding over-processing for ideal outcomes.
Enhancing Audio Flow
Enhancing audio flow helps editors add smooth shifts with fades and crossfades to blend clips seamlessly. They also adjust timing and sync tracks to guarantee elements align perfectly. This technique improves the overall listening experience in any project.
Adding Smooth Transitions: Fades and Crossfades
Smooth shifts in audio editing rely on fades and crossfades, which subtly adjust the volume to blend clips seamlessly. Fades create smooth starts or ends; a fade-in gradually increases audio from silence, while a fade-out decreases it to nothing, preventing abrupt cuts. Crossfades overlap two clips, where one fades out as the other fades in, ensuring a fluid progression. Experimenting with fade durations helps achieve the desired effect.
Timing Adjustments and Syncing Tracks
Timing adjustments and syncing tracks play crucial roles in audio editing. Editors precisely align elements to match visuals or other audio layers for playback. They use timing adjustments to correct delays or overlaps, ensuring audio syncs perfectly in projects like videos or podcasts. Editors often employ tools such as waveform alignment and beat matching for accuracy.
| Technique | Description | Benefits |
| Manual Trimming | Adjust clip start and end points | Fine-grained control |
| Sync Markers | Place markers to align tracks | Quick and precise syncing |
| Auto-Sync Tools | Software automatically detects sync | Saves time and effort |
| Time Stretching | Alter duration without pitch change | Maintains audio integrity |
This approach enhances flow, making edits professional and engaging.
Advanced Editing Techniques
Audio editors often integrate sound design elements to enhance projects, such as adding effects and layers that create immersive experiences. They master equalization and compression to balance frequencies and control dynamics, ensuring a polished final product. This approach elevates basic edits into professional-level audio work.
Integrating Sound Design Elements
Once basic editing is mastered, creators often integrate sound design elements like reverb and pitch correction to craft immersive audio landscapes, enhancing projects in film, podcasts, and music production. They actively use audio effects to add depth and emotion, transforming raw tracks into engaging experiences. For example, reverb simulates environments, while pitch correction refines vocals.
| Audio Effect | Key Benefit |
| Reverb | Creates spatial depth |
| Pitch Correction | Guarantees tonal accuracy |
| Delay | Adds rhythmic echoes |
| Filter | Shapes sound clarity |
This approach elevates storytelling and listener engagement without overwhelming the mix.
Mastering Equalization and Compression

As creators advance their skills, they master equalization and compression to refine audio tracks effectively. Equalization lets them adjust frequency bands, ensuring a balanced sound. Compression evens out dynamics by taming loud peaks and lifting quiet sections, preventing distortion and maintaining consistent volume. Creators apply these tools in DAWs, experimenting with settings to enhance mixes for music or podcasts.
Finalizing and Exporting Audio Projects
In finalizing audio projects, editors always conduct quality checks before the final render to identify and fix any flaws. They select appropriate formats and settings for different outputs, such as MP3 for web streaming or WAV for high-fidelity archiving. This preparation guarantees the exported audio meets professional standards and suits its intended use.
Best Practices for Professional Audio Editing
Professional editors structure their workflow to avoid overplanning pitfalls and guarantee efficient project management. They rely on quality headphones to monitor audio accurately and catch subtle issues. Knowing when to stop editing prevents over-processing and maintains the natural integrity of the sound.
Overplanning and Structuring Your Workflow
While effective planning boosts efficiency in audio editing, overplanning can bog down creators with unnecessary complexity. In audio editing projects, professionals structure workflows by focusing on essential steps and avoiding rigid plans that stifle creativity. They prioritize key phases like pre-edit organization, actual editing, and final review to maintain momentum.
| Workflow Phase | Common Overplanning Issue | Effective Solution |
| Pre-Edit Prep | Excessive detailed outlines | Quick checklists |
| Editing Process | Too many conditional rules | Flexible timelines |
| Post-Edit Review | Over-analysis of minor details | Targeted quality checks |
This approach keeps audio editing projects streamlined and productive.
Knowing When to Stop Editing to Avoid Over-Processing;
As editors fine-tune audio with precise tools, they must judge when to halt edits and prevent over-processing, which can strip away a track’s authenticity and introduce unwanted artifacts. Over-processing often adds unwanted noise, distorting the original sound and reducing listener engagement. Editors should use A/B comparisons to detect subtle changes, take breaks for fresh perspectives, and prioritize minimal edits that preserve natural dynamics. By stopping once the audio achieves balance and clarity, they maintain professionalism without introducing artificial flaws, ensuring the final product retains its emotional impact and high quality.
Frequently Asked Questions
What Hardware Is Required for Audio Editing Software?
Audio editing software demands a reliable computer with a powerful CPU, at least 8GB of RAM, a dedicated audio interface, professional headphones, and external storage.
How Do I Troubleshoot Common Software Glitches?
Users troubleshoot common software glitches by restarting the program, checking for updates, and verifying system requirements. They clear caches, consult online forums, examine error logs, and test hardware compatibility to resolve issues quickly.
Can Audio Software Integrate With Video Editors?
Audio software frequently integrates with video editors, enabling creators to sync sound and visuals seamlessly. For instance, Adobe Audition connects with Premiere Pro, enhancing films and videos by balancing audio elements for immersive storytelling.
What Licenses Apply to Edited Audio Files?
Experts explain that licenses for edited audio files depend on the source’s terms. They often inherit copyrights or require attribution under Creative Commons.
How Often Are Audio Editing Tools Updated?
Audio editing tools undergo updates frequently, with developers like Adobe releasing new versions annually and open-source options like Audacity pushing patches every few months to add features, fix bugs, and improve compatibility.
Conclusion
In summary, audio editing software empowers creators to refine raw recordings into professional soundscapes, blending features like multitrack editing and effects for immersive results. This guide equips users to choose tools like Audacity or Adobe Audition, master techniques, and adapt to future trends, releasing continuous creative potential in an auditory-driven world.


